Travel videos are the perfect way to share your experiences. They’re more alive and entertaining than just a sequence of photos, especially if they’re done well. If you’ve never made travel movies before, this article will be beneficial to your new filmmaking hobby.
What Videos Can You Make?
A travel video can be a good way to record the real essence of any pristine tropical beach, a fantastic zip-line excursion, or even a cool summer day in the countryside. Travel videos are made in various formats and therefore have different objectives. When making a travel video, you need to decide what its purpose is, how you’re going to tell a story within the video and how you’re going to incorporate images and clips.
Here are a couple of ideas:
- The list of iconic places
- A complete city guide – it can even be a series of videos
- Local cuisine
- To-do lists
Just like that, you can have one long video covering several aspects or have short clips for each topic.
What Gear Should You Take?
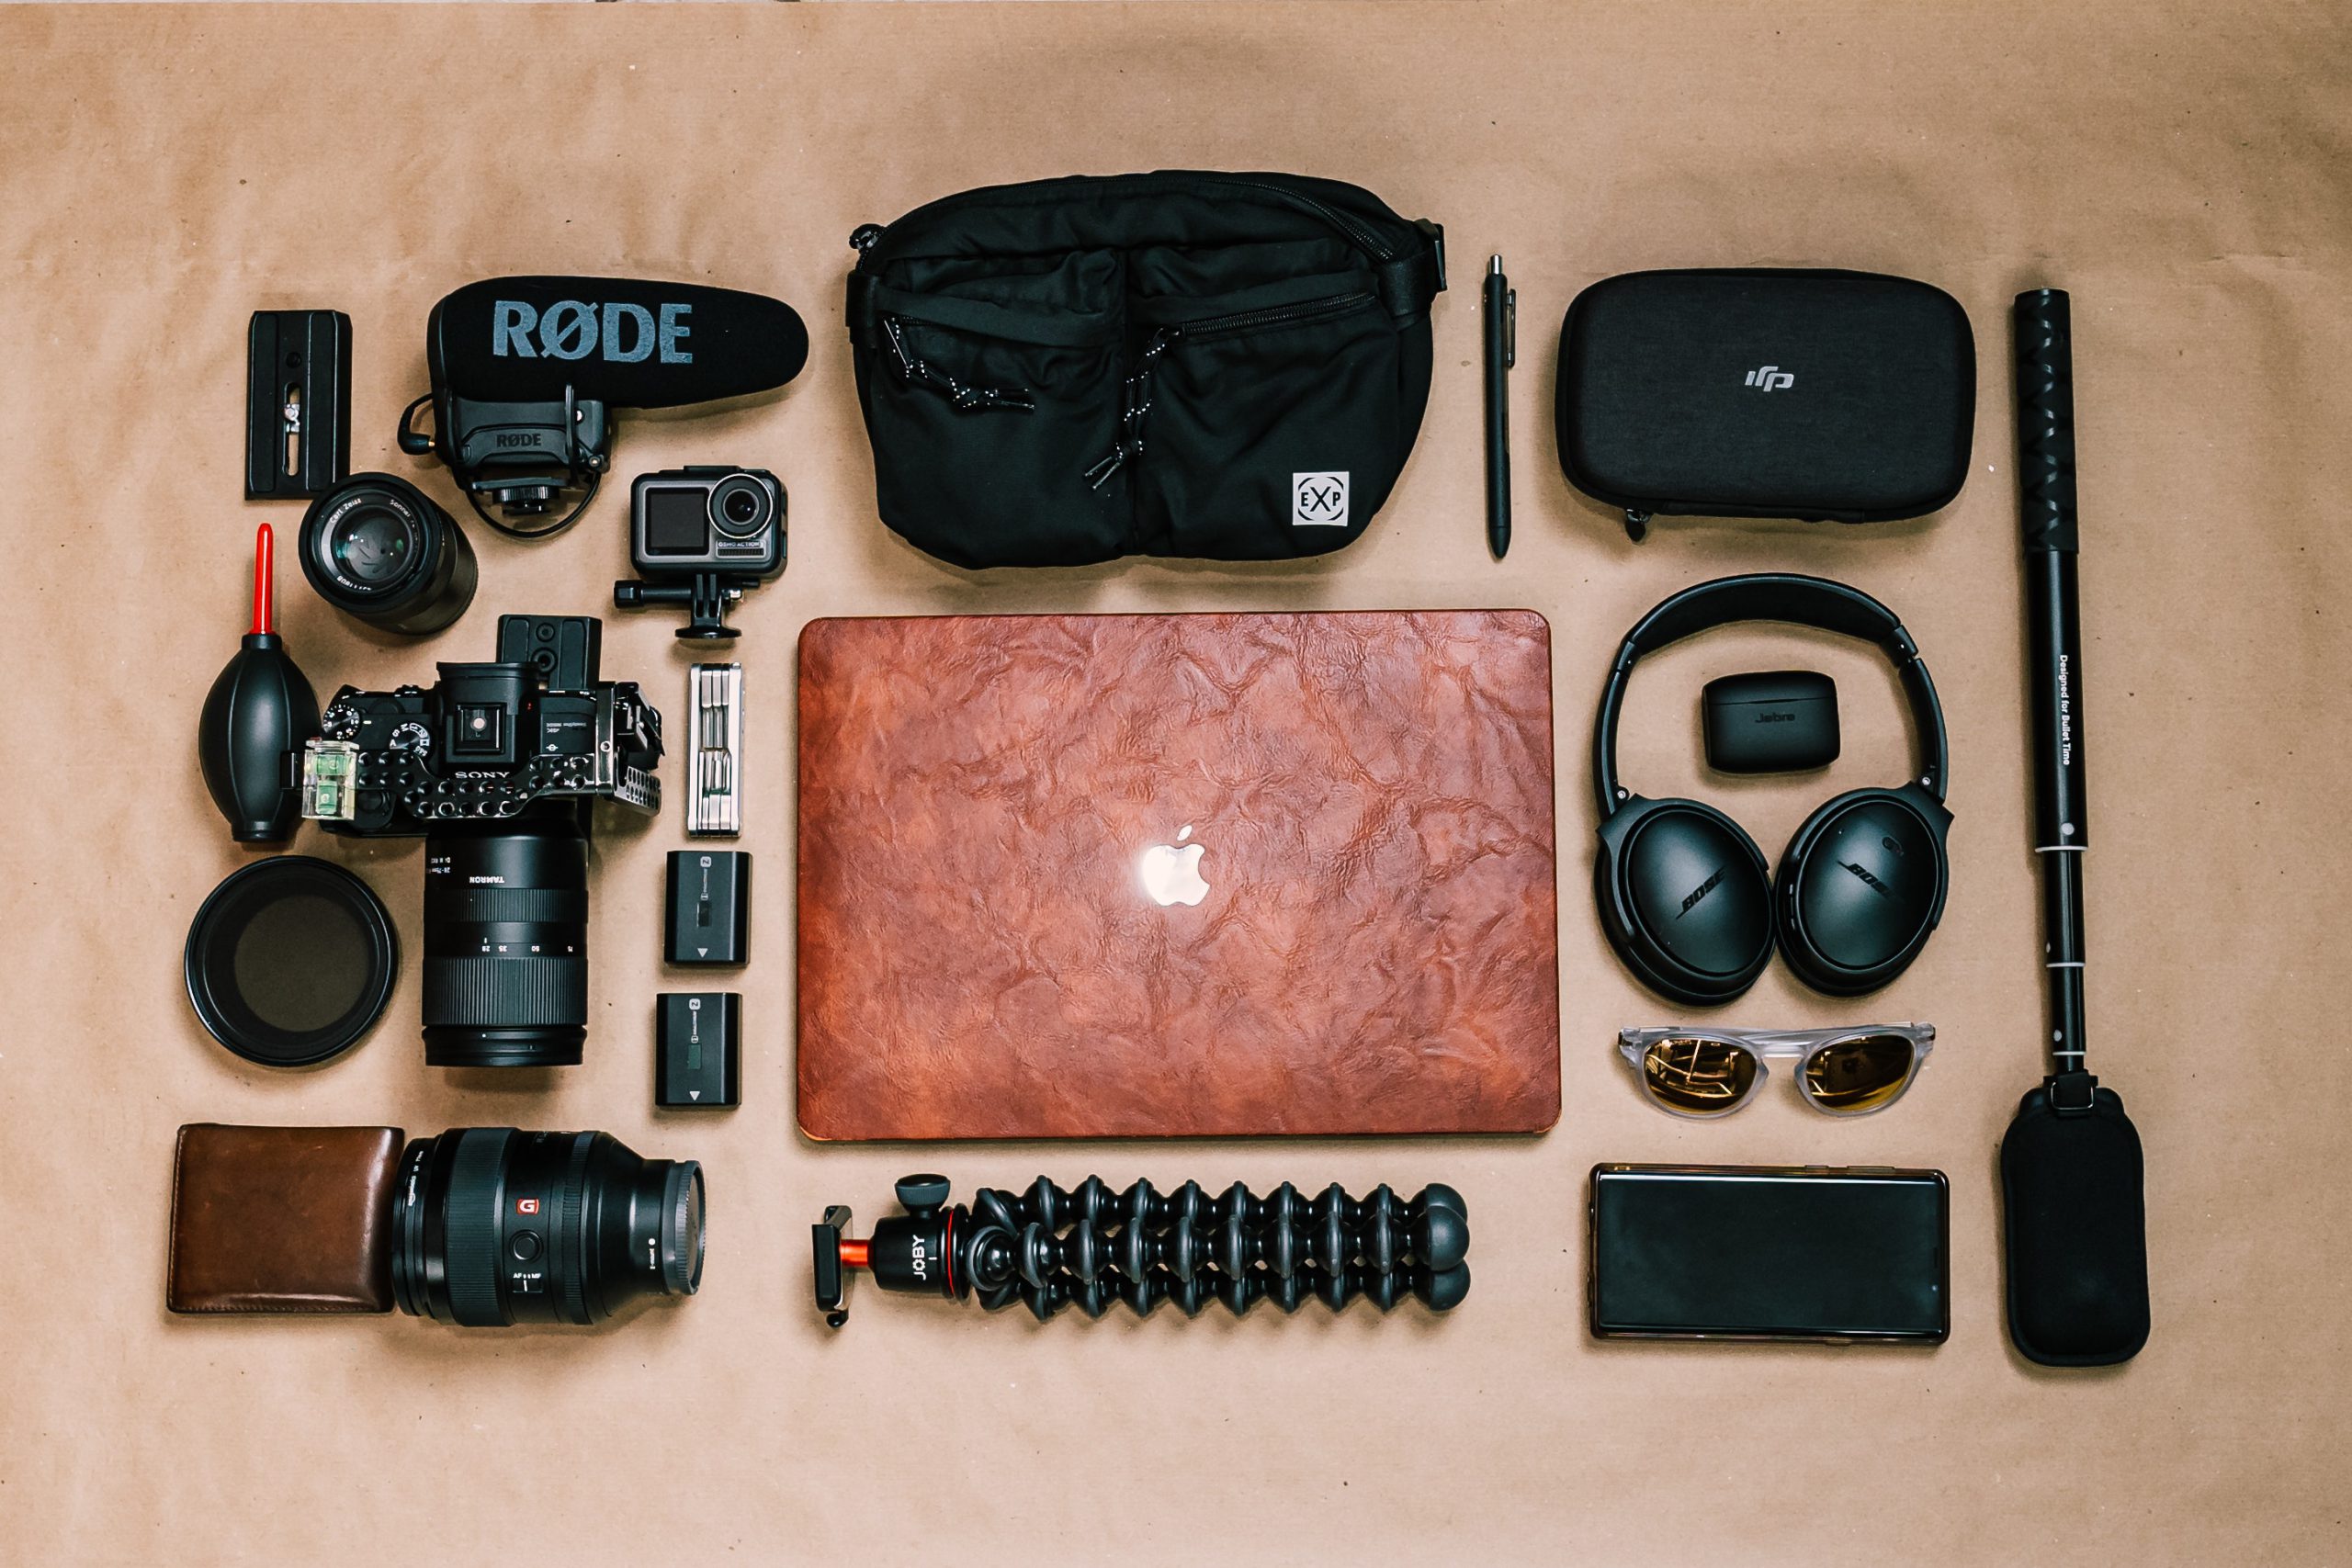
The main trick here is to find the balance between packing too much gear and packing not enough handy tools. You may want to travel light, leaving behind all the heavy equipment. However, here’s the list of travel video gear you should definitely take with you:
- Camera. Although shooting travel vlogs on a smartphone is not that uncommon, you should consider taking a digital camera. Professional and semiprofessional equipment still has more features than a built-in camera in your phone.
- Tripod. If you travel alone or you want to avoid shaky footage, you need a tripod or a gimbal to stabilize the image.
- Microphone. An external microphone will help you get more clear sound.
- Extra memory cards. When you have a lot of footage, extra storage space will come in handy.
- Batteries and power banks. You don’t want to find yourself in the middle of nowhere without extra batteries to charge your phone or camera.
- Laptop. Consider taking your laptop as well to transfer footage right away. Thus you can make sure you have an extra copy, plus you can get to editing while the memories are still fresh.
Unless you travel by car, you probably will have to do without additional lighting, green screens, and other heavy tools.
What Software Should You Use for Video Editing?
Good video editing software will save you lots of time and headaches and let you focus more on story and camera work than on technical details. Especially when you are a budding videographer, you may not want to get into the depths of advanced features.
There are many affordable and easy-to-use video-editing software solutions out there, so you don’t have to spend all of your money on something that may be unnecessary. If you’re a Mac owner, you can try out the basic tools of iMovie, the free default app. If you’re a Windows user, you can test some options available on the market – Movavi, Lightworks, or OpenShot.
The most important tip here would be to check out trial versions beforehand and make sure that the travel video editing software of your choice has all the tools you need.
Travel Video Tips
When it comes to making a travel video, many different factors should be taken into consideration.
Get Inspired
Nothing motivates you to travel more than watching vlogs of other travelers. You may get some useful insights – places you’d like to visit, what topics to cover, and what not to do. You may also notice some interesting techniques videographers use and think about how you can use them to your advantage. Be sure to take note of what other people do, but under no circumstances should you copy them. Instead, use these videos as a source of inspiration for your bright ideas. Your traveling experience should be unique.
Prepare the Camera Beforehand
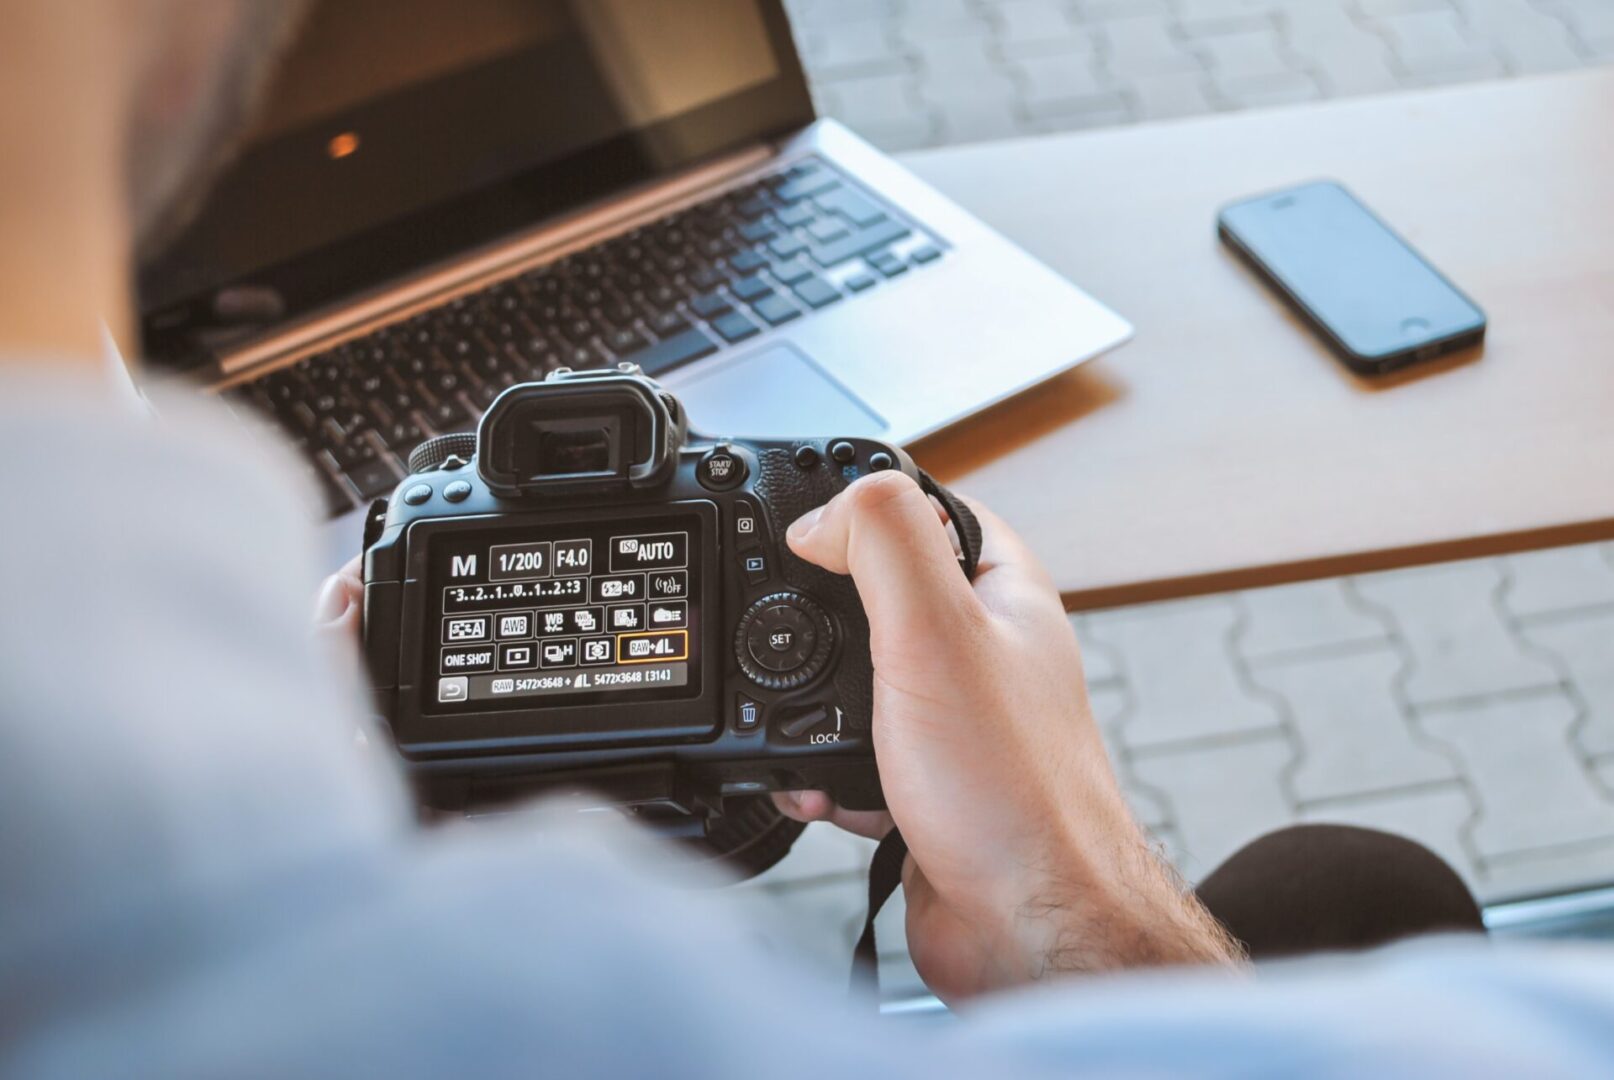
In order to get the perfect shot, you will need to select the proper camera settings. These settings will be different depending on what camera brand you are using, but the idea is pretty much the same. Experiment with settings before your trip and create several picture profiles so that you can switch between them for different types of footage – general, night, slow motion, etc.
Don’t Film Everything You See
Travel is very unpredictable, and most who travel do not know exactly how much detail they can get away with until they get back home and spend hours rewatching the videos. Yes, there is such a thing as “too much footage.” It may be a good idea to research the city you’re going to visit and have some kind of plan of what to include in the final cut. A detailed script may be a bit too much, but a short summary will do you good. If your video focuses on local cuisine, make a list of cafes and food trucks; if your vlog is architecture-oriented, pinpoint the most important locations on a map. This will save you from unnecessary footage, plus, will give you time to actually enjoy new places.
Combine Different Shots
Monotonous footage will kill all the excitement that your viewer had at the beginning. Play around with long shots and close-ups to add dynamics and depth to the video. With practice, you will soon learn the pace you need to keep when changing shots. If you want to ensure that your videos end up as natural as possible, then make sure to use seamless transitions. There are some tricks to make the sequence of shots more interesting and not dizzy:
- Moving in from a long shot to a close-up or moving out
- Adding B-rolls of objects and details
- Following a shooting pattern throughout the video
- Making use of jump cuts for a surprise effect
You should also think about the subjects in your shot. For example, you can combine long shots of nature with medium close-ups of a person or an extreme close-up of a butterfly.
Tell a Story With Editing
A proper videographer always starts out by deciding on the overall theme or story. Once the basic idea is established, you can begin the actual video editing. Remember that your video shouldn’t necessarily be in a chronological order. Here are some ideas:
- Start with the most interesting part as a teaser in the intro
- Show the whole map of your trip at the beginning
- Start from “the end,” add a record scratch noise, then explain what has happened to you that day.
Chronological or not, your video should follow a plot of some sort. You can use the notes you’ve made before the trip and organize the footage accordingly. Here’s what you can do:
- Describe the events in the order of them happening
- Divide the video into topics, and cover them one after the other
- Film a day in the life of a local – starting from the morning and finishing with going to sleep.
Smart editing goes together with smart filming. If you have just the right amount of footage, you will have no trouble making a travel video.
Get Permissions
Last but not least, you have to make sure where you can film and where it’s prohibited. For example, many churches, temples, or monasteries do not allow filming inside, and you may have to ask permission to get the footage even in the surroundings. Also, if you are anywhere near a military base, you may be asked not to film as well. Plus, not everyone will be excited to be in your video, so you should ask first before you start making videos of locals.
Conclusion
Making travel videos may seem like a fun hobby, but it is also hard work. However, nothing will compare with the ability to get new exciting experiences and share them with others! Follow the tips above and you’ll surely get the results you want.






This site is protected by reCAPTCHA and the Google Privacy Policy and Terms of Service apply.