


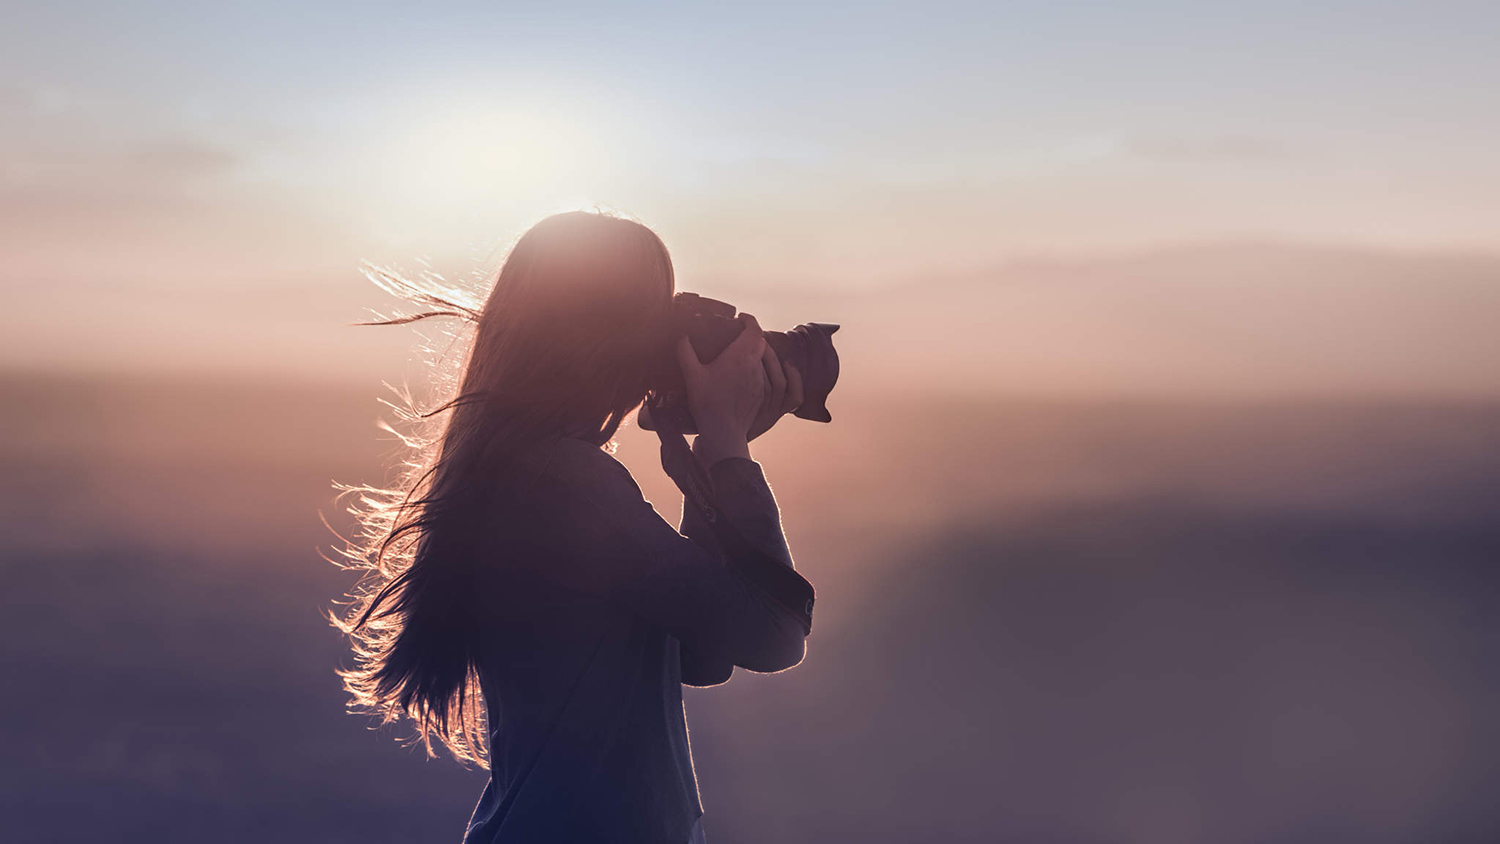
1. HOLDING YOUR CAMERA
“One of the most common problems that beginning photographers encounter when they’re using a hand-held camera is “camera shake,” which results in slightly blurry pictures. A good way to avoid this is to place one hand under the camera, and brace that arm’s elbow against your ribs. This will give you more stability. You could also kneel on one knee, with the other knee forward so you can rest your camera-supporting arm on it, or lean against a wall or something for extra support.” (Advice taken from here.) Other options include placing the camera on something steady, such as a stack of books, a table, a cup, literally anything that is not moving. This works especially well in dimly lit environments, such as restaurants, bars, nightlife, sunsets, sunrise…okay I think you get the point.
2. PICTURE COMPOSITION
“One of the most important things you can do to improve your photography is to learn to see like your camera. Maybe you’ve noticed that some of your photos don’t draw a viewer’s attention to the thing you wanted to spotlight, or don’t capture what looked super compelling to you in person, or just aren’t that fun to look at. There are a lot of possible reasons for these problems, but a big one is composition—literally where all of your image’s elements are within the frame, and in relation to one another.”
“In a well-composed photo, all the elements of composition—color, line, tone, pattern, space, and perspective—are working together to make the image compelling. If you train yourself to visualize a photo’s composition before you press the shutter, you’ll be able to say more with your photographs. Take note of what’s in the foreground and the background, and how things look from different angles. Notice details. Notice shadows.” (Advice taken from here.)
This comes in handy a lot when I’m taking photos that look spontaneous. News flash! These photos are often staged. For example, a restaurant shot of someone spooning pasta on their plate isn’t often captured spontaneously. I first position the camera to see what will be in the view field. If there are napkins that distract from the main subject, aka the pasta, I remove them from the shot. Next I have my model pick up the spoon full of pasta and hold it in a way that looks natural without moving. This removes the blurry quality of the photo.
3. WHERE IS THE LIGHT COMING FROM?
Light can often determine the success of a shot. If you work with it, you’ll have a beautiful photo. However, if you work against it, everything becomes more difficult. Shots that come out the best have the light coming from behind the camera and on to the subject. If you’re taking a shot outside while the sun is out, make sure that the sun is shining on your subject. If you try to take a photo with the sun in the shot, it often comes out harsh and difficult to see.

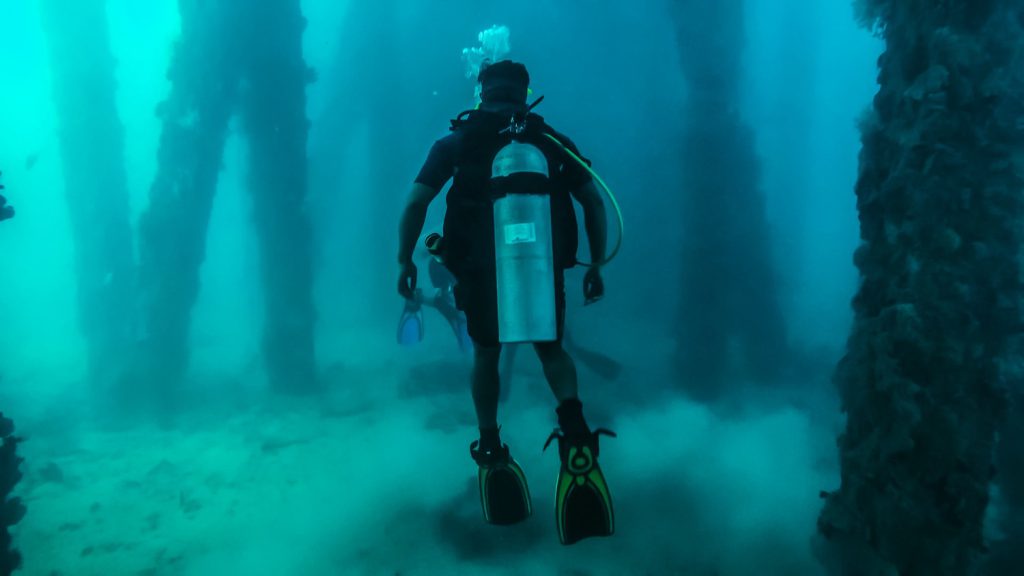
In dimly lit settings where it is especially difficult to take a good photo, I often use my iPhone flashlight with 2 or 3 napkins (or a piece of cloth, like your sleeve) covering the light to make it softer. It may sound a little DIY, but it works like a charm. When you do this, keep in mind the shadows that will appear and adjust your light angle as needed. I use the trick in restaurants, bars, nightclubs, etc. Anywhere were it is challenging to take a photo because it is incredibly dark and your camera can’t focus or take a shot that is not blurry.
4. THE RULE OF THIRDS
One of the simplest ways to make a photo more interesting is to use the “rule of thirds”, dividing the frame into 9 segments.
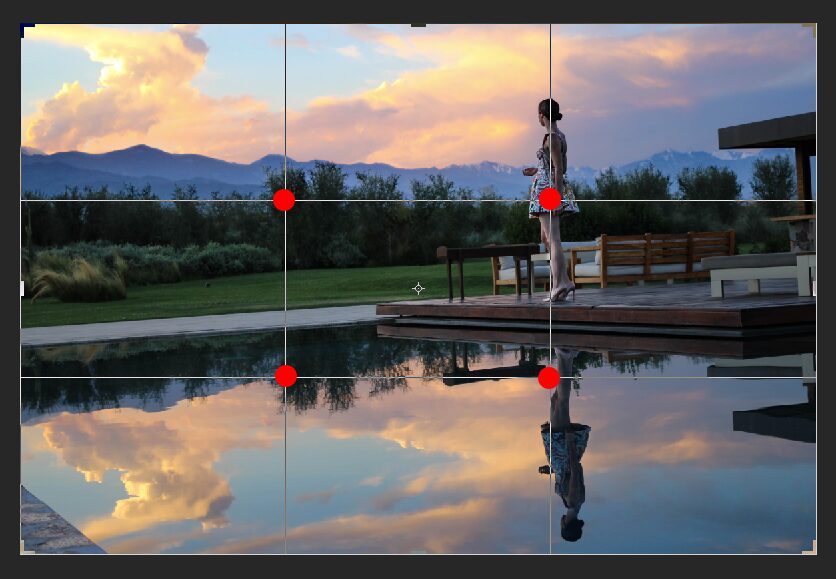
“You place the main thing you want people to look at on one of the four points (highlighted here with red dots) where the lines intersect. Now, you might assume that if you want someone to look at something you should place it dead center—but for some magical reason, people’s eyes seem to be drawn to those four points, and the other three-quarters of the image counterbalance that point nicely. Look at that photo without the grid, and imagine how different it would look if the the subject was in the center.” (Advice taken from here.)
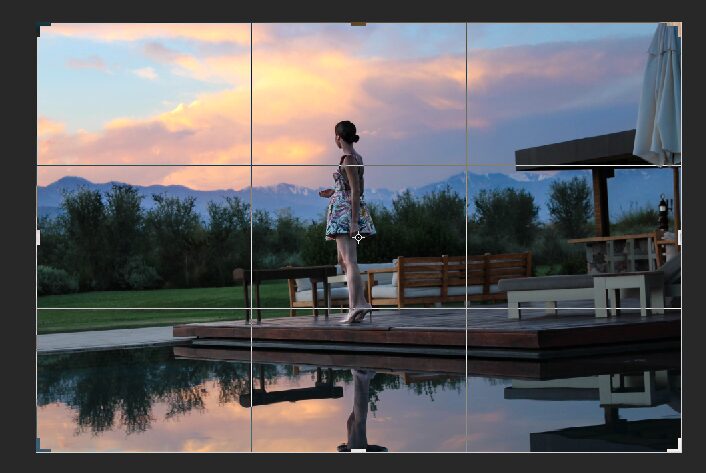
If you are photographing something with a really defined horizontal line, such as the horizon on a landscape, try placing that line in one of the “thirds” instead of in the middle of the frame.
5. SUNSETS, SUNRISE, DAWN AND TWILIGHT
I cannot emphasize this one enough, and if you follow me on Instagram then you know that most of my photos include a soft type of sunlight. The absolutely best time to take photos with the perfect lighting is when the sun is soft, which is during sunset, sunrise, dawn and twilight. It gives the photo a warm, magical feel. Plus, let’s face it, people simply love sunsets/sunrises. It is a beautiful backdrop, especially of photos with people or landscapes.
If you are taking a photo of a person with the sunset in the back, you will need to make sure the sun is not in the shot or the person will come out dark. Position the camera in a way that the sun is not in it. You will still get the beautiful colors and the perfect light.
The problem with taking photos in bright sunlight is that it washes out the photo and the light is very harsh. I often plan my photoshoots around when the sunsets. It always leads to great photography.

6. HOW IS THE PHOTO FRAMED?
Look through the camera lens. Would this shot be better wide (landscape) or long (vertical)? Take in what you see through your camera’s viewfinder and turn it both ways to see which shot works best. “Do you want the subject to fill the whole picture, or do you want it to look really small? Is there anything in the frame that distracts you from the subject of your photograph, and can you leave it out? What you don’t show is just as important as what you do, when you’re trying to tell a story.” (Advice taken from here.)
Below is the same subject, taken in 3 different ways. Which do you think highlights the subject most?

Photo 1 
Photo 2 Photo 3


For this shot, the photo 1 shows the detail of the food and directs the eye onto the subject. The other photos are too far from the subject and don’t direct the viewer where to look as well.
7. STICK TO THE “AUTO” SETTING TO START
You just got a camera and there is a lot to learn. Don’t overcomplicate it by trying to use the professional settings. Auto is a great place to start because the camera will do the work for you. I would recommend using the auto setting without flash when you can. The flash that most DSLR’s have gives harsh light to the photo. Professional photographers seem to use alternative light sources with their DSLRs to capture the perfect lighting. I’ve never seen one use the flash their camera came with. Since you are learning the basics, stick to the auto (non flash) setting and use my tips in #3 and #5 to get the perfect light.
8. THE MORE THE MERRIER
For every one photo I post on Instagram or on my blog, there were 100 others that I didn’t post. Take as many photos as you can so you have a large variety to choose from. This is often where the best photos are found.

If you’re lucky and have a camera that shoots in 4k, I would only take video and then pull stills from the shots. This way you can capture every moment. For example, my GoPro shoots in 4k. For underwater and action photography, I turn on the 4k video mode then pull that “perfect” moment from it to use as a photo. This way you have unlimited options for photos.

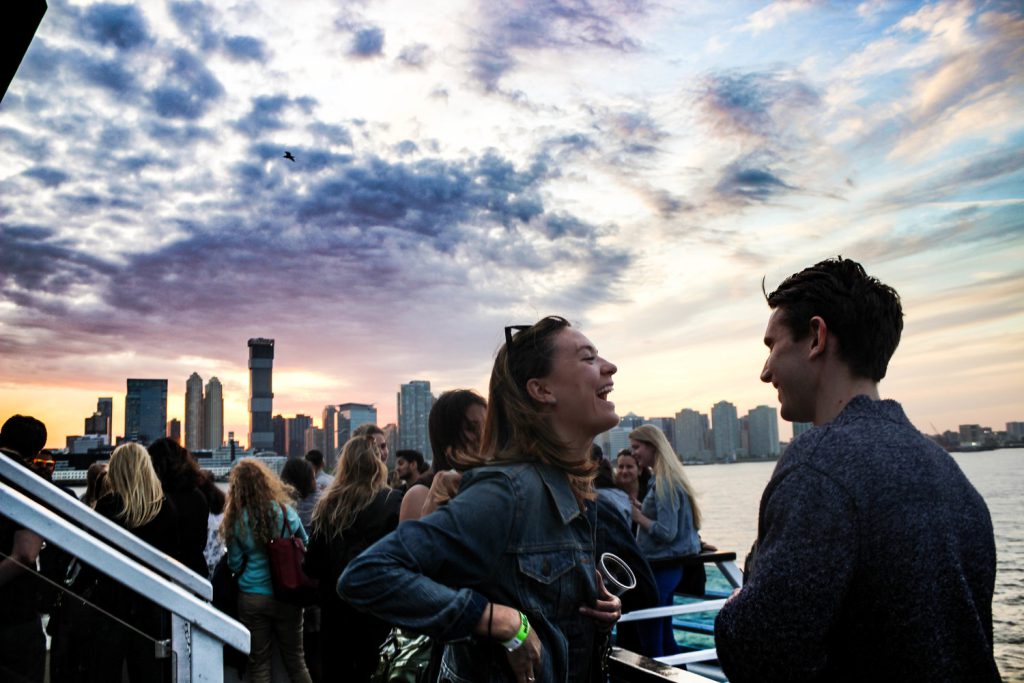
9. DON’T BE AFRAID TO FAKE IT
When capturing a “candid” moment, you often have to pose for the shot. I do this all the time at events, parties, nightlife and experiences I’m covering. Don’t get me wrong, I’m having a great time while I’m there. However, if I take a standard photo smiling at the camera looking posed, it doesn’t look as authentic as an “in the moment” photo. Take the photo below as an example. I told the subjects to laugh while looking at each other and act like their having a great time (I’m sure they were). However, if I simply asked them to pose for the camera they would look towards me and smile blankly. That brings a less exciting photo. Sometimes you need to fake it to make it look authentic.
10. EDITING THE PHOTO
No matter how beautiful my photo looks, there are always little things that can be done to improve it. For this I use Adobe Lightroom. It is a great program to learn how to edit your photos beautifully, plus they offer tutorials to teach you best editing practices. I often pair this with Adobe Photoshop, if I need to make bigger changes (for example, cropping a cruise ship out of a photo to make it more serene). Lightroom is only $9.99 a month. Photoshop is $29.99. However, if you’re a student, you can get the whole Adobe suite for $19.99 a month. That includes everything!
For on-the-go editing on my mobile device, I use Snapseed and Facetune.
Snapseed (available for iPhone and Android) allows you to do almost everything you could do with Lightroom but it’s accessible from your phone. The essentials I use with this one are brightness, ambiance, rotate and saturation. My favorite feature they have is their selective tool. It allows you to pin point one part of the photo and increase the brightness, contrast or saturation only on that spot. It’s especially great for highlighting a specific part of the photo you want to direct people’s eyes to.
Facetune is fantastic for selfie’s and portraits (available for iPhone and Android). This app is a blessing for accentuating features and highlights, erasing wrinkles, whitening teeth, enhancing the color of eyes, etc. It’s my go to app when I need to edit a close up shot of a face on the go. It’s a great resource to use to highlight certain elements of the photo that your phone camera could not pick up.


This site is protected by reCAPTCHA and the Google Privacy Policy and Terms of Service apply.